A few people have been asking me how exactly to USE a template... so I'm going to write up a little tutorial!
Scroll down to the bottom and grab the FREEBIE and try it out!!
Here goes...
HOW TO USE A LAYERED PSD TEMPLATE IN Photoshop & Photoshop Elements:
-> think of them as 3D sketches...
-> If it's a PSD layered template (like mine are) - then when you open it in photoshop or elements - it will open in layers.
-> each layer is a certian piece/section of the layout - (like pieces of a puzzle) - and when all of the layers come together - in the right spots and everything - they make a layout - kwim?
I have a few freebies here on my blog - if you need one to practice with - download one of them and then here we go...
-> download, unzip and then open up the PSD layered template in Photoshop or Photoshop Elements (they do work in a few other programs - but the instructions will be a bit diff for those).
-> the FIRST thing you need to do - is go to FILE and then SAVE AS - and save the layout that you will be working on - so that you do save over the template by accident!
-> and then you can open up (in PS or PSE) a little kit that you'd like to work with...
-> when you have the template open on the screen, look at your layers palette, select the layer that you'd like to work with first... (highlight/select it in the layers palette)
-> pick a paper - and then select/copy it (In elements I use Ctrl+A to select it and Ctrl+C to copy it) - then go to your template - and paste (I use Ctrl+V) it into the template - I THINK you can also drag and drop - but I prefer the other way.
-> make sure that the new layer that you just pasted in is directly above the layer you want it to take the place/shape of...
-> look in your layers palette and you should see the new layer that you just pasted in... and on your template on the screen, you should see the paper you pasted in as well!
-> once the new layer/paper or whatever is was, is directly above where you want it to be in your layer palette, do a Ctrl+alt+G type thing (in photoshop) - or Ctrl+G in elements - and it will join the two layers together and the paper will then take the shape of the layer beneath it...
-> Ctrl+E will "merge" those two layers together to make them one - but you dont NEED to do that part
-> keep doing that until all of the spots/layers are filled with the elements/papers and photos that you want on your layout
-> you can delete or hide certain layers if they dont suit your style or the layout you are working on
-> you can also add things in too! - just open up an element (say a cute little flower) - and then selcet/copy/paste it into your template - and then move it around to wherever you want it on your layout! - you can drag that new element up and down in your layer pallette too - to get it just where you want it (because when you first paste it in, it might be hidden behind a paper or something) - so moving it up in the row of layers in the palette - will bring it to the surface - kwim?
-> so you just keep doing those steps over and over until you have your page the way you want it!
-> before you know it making a page with a template will be easy peasy (using templates is how I started into the world of digi scrapping)!
I have a few freebies here on my blog (see the small previews on the left) - feel free to grab them and play around! Ask questions if you have them and I will do my best to help if I can!
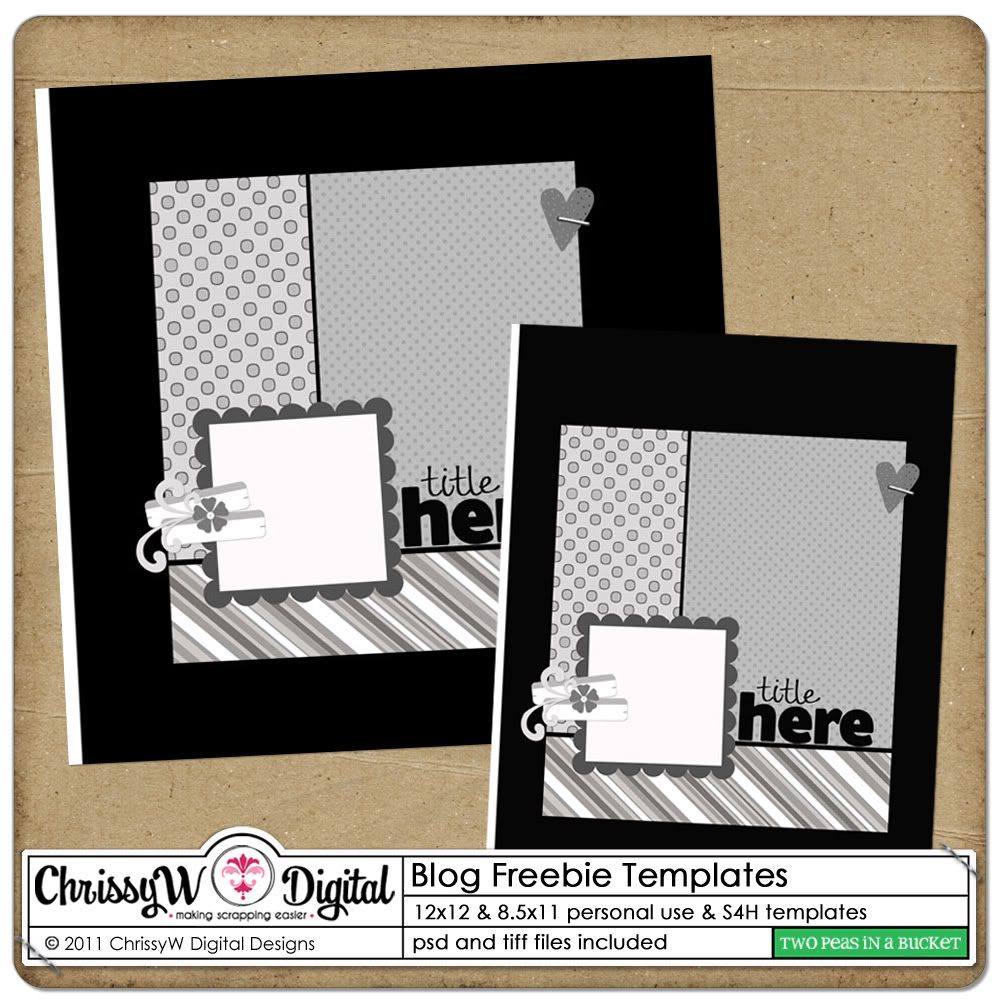
Here's the freebie...click the preview to download it!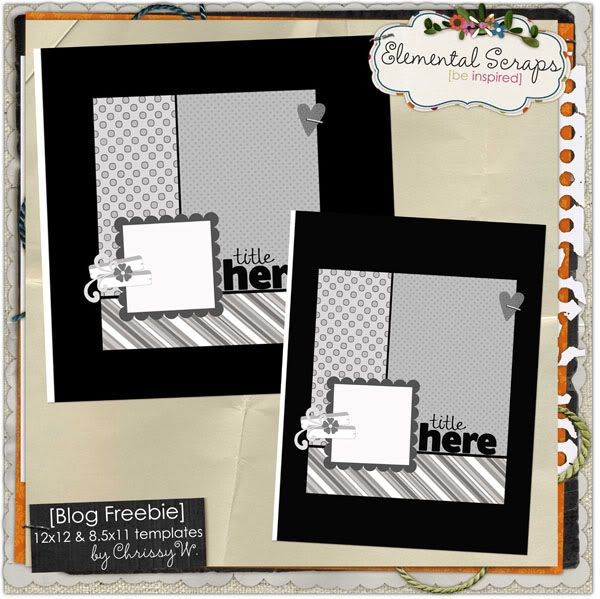
Hope you've found this tutorial helpful!
If you want to see more of my templates CLICK HERE to check out my store at Two Peas In A Bucket!
:)
Chrissy
Monday, February 11, 2008
template tutorial!
Posted by
ChrissyW
![]() at
10:50 a.m.
at
10:50 a.m.
Subscribe to:
Post Comments (Atom)




5 comments:
Great tutorial!
how great!
thank you!
Ooooh! I didn't know I could merge the layers! I love that - only cuz I'm anal! :) Thanks Chrissy!
i can do the coloring stuff but i don't understand how to get the picture to go where it goes, can u explain that part? thanks!
Nice great! web article
Post a Comment